

Cleaning and disinfection pt. 3: Essential part of broiler production
Part of Series:
< Previous Article in Series
To achieve the genetic potential of our broilers, it is important to provide them with everything they require, including the correct temperature and ventilation conditions along with a good feed and water management program. The first step to reach the desired performance is to provide the flock with a clean environment where the risk of flock infection at placement is minimal. Reducing the risk of infection requires a clear and complete cleaning and disinfection program.
The cleaning and disinfection program should be rigorous and consistent between every flock. It is important to note that even if the previous flock had no outward signs of infection or if there were no sanitary issues in the house, that does not necessarily mean pathogens were not present. Thorough cleaning must be done regardless of an outgoing flock’s status. Chicks are more susceptible to disease than adults, and if cleaning is done poorly, any pathogens present during placement could create significant risks to the flock.
The written cleaning procedure must be simple and easy for all personnel to understand. Although each operation is unique, the cleaning and sanitizing steps will be the same and must be performed correctly and thoroughly. Additionally, all personnel using chemicals for cleaning and disinfection must use personal protective equipment (PPE) including masks, gloves, goggles, and overalls according to the chemicals safety guidelines. This will ensure human welfare and that the procedure is completed correctly.
After the flock has left the farm, apply an insecticide to the litter. Allow the insecticide time to work (at least 24 hours), then remove the litter from the houses and take it at least one kilometer away from the farm. Keep the litter covered as some insects can fly away from the litter and relocate to other houses on the farm. Additionally, a common mistake is to remove litter from one house after other houses on the farm have already been cleaned. This can cause the contamination of cleaned houses by insects, organic materials, and even pathogens. If more than one house on a farm is cleaned on the same day, take steps to prevent contaminating cleaned houses.
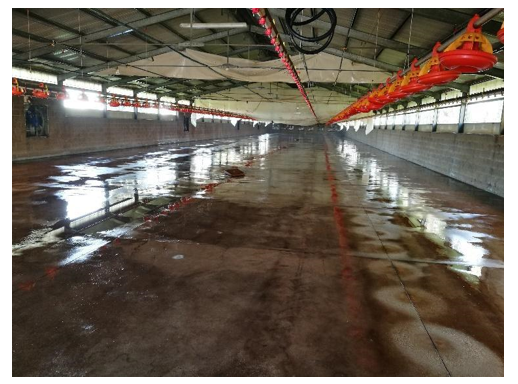
Once the organic material has been removed, start washing the house and equipment. Begin with the top of the house and work down. If any equipment cannot be washed, remove it and dry clean it. (The durability and waterproof characteristics of equipment must be considered when purchasing.) The cleaning procedure must include all rooms in direct and indirect contact with the poultry houses, including showers and storage facilities. It is important to clean the outside of air inlets and curtains so that when the ventilation is activated, contaminated dust is not drawn inside the house.
Apply a foam detergent and leave it for the correct time according to the manufacturer’s instructions. Rinse with high-pressure water, working in one direction from top to bottom to prevent recontamination.
At this point, reinstall all the equipment and start with the disinfection. There are several chemicals available for disinfection, but for optimal efficacy, follow the manufacturer’s instructions. Be aware that some chemicals have specific temperatures and concentrations at which they work best. Apply the disinfectant with low-pressure water to ensure that it reaches all surfaces. Start from the end of the house and proceed toward the entrance, again to prevent recontamination.
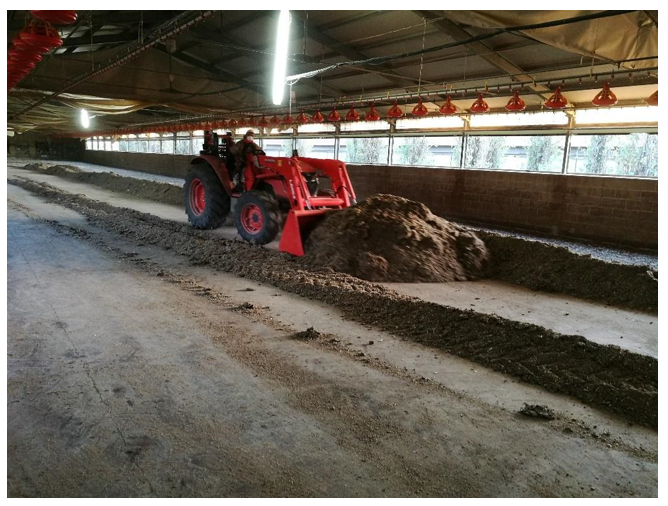
Organic matter interferes with the activity of disinfectants; therefore, it’s very important that surfaces are clean before disinfecting. In some cases, I have seen people not washing but only disinfecting to speed up the procedure, and this is completely ineffective. Removing the litter and washing the house reduces the microbial load by 90% while disinfection in general represents only 10%.
After liquid disinfection has finished and all equipment has been reinstalled, it is time to fumigate. Again, for it to be effective, use the right concentration (normally calculated in m³) at the correct temperature for the correct time following the manufacturer’s instructions. Following treatment, ventilate the house to remove any chemical residual. After litter placement, the house can be fumigated again; however, use caution with products that require ignition as they present a fire hazard. Spray disinfectants are also available but can leave residues that are potentially harmful to chicks.
To assess cleaning efficacy, samples must be taken after disinfection. Swab all surfaces and equipment and send them to a certified laboratory for microbiological analysis. Measure the total viable counts (TVC) per cm² and culture for Salmonella. The TVC represents the quantity of microorganisms on a surface. It is not possible to achieve sterilization, but TVC counts for floors should not exceed 1,000 TVC/cm² and all other surfaces must not exceed 100 TVC/cm². No Salmonella bacteria should be isolated.
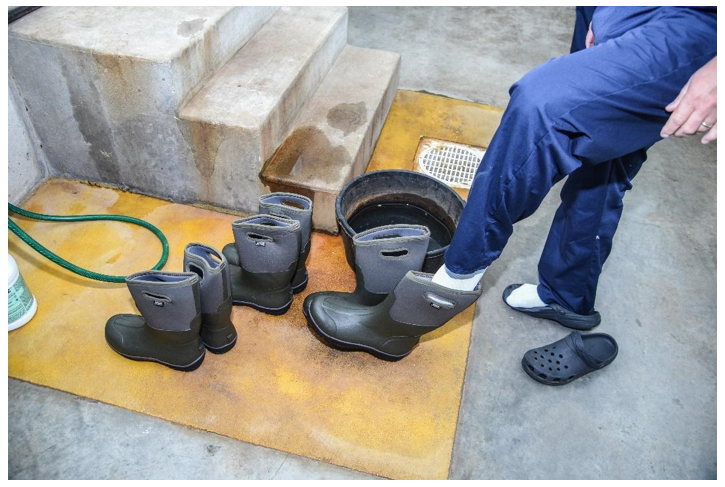
If the results of the analysis exceed these limits, assess the cleaning and disinfection program. The most common reasons for high TVC counts are using the wrong disinfectant, poor application of the disinfectant, poorly trained and/or equipped staff, insufficient time for different procedures, and reinfection of cleaned houses by vermin or personnel. Therefore, when a house is clean, take steps to keep it clean by keeping doors closed and putting footbaths at every entrance with a boot change for all people.
There is a direct correlation between cleaning and final performance of the flock. Create a precise and written program for your cleaning procedures based on the chemicals used and follow it without taking any shortcuts. Remember, the aim is not to eliminate all microorganisms but to decrease them to a minimum. Clean poultry houses are the basis for a healthy and productive flock.


