

Cobb Breeder Management Guide: Flock depletion
Learn more about cleaning and disinfectionPart of Series:
< Previous Article in Series Next Article in Series >
Editor's note: This article is an excerpt from the Cobb Breeder Management Guide and additional articles will follow. The Guide was designed to highlight critical factors that are most likely to influence flock performance. The management recommendations discussed were developed specifically for Cobb products. The recommendations are intended as a reference and supplement to your own flock management skills so that you can apply your knowledge and judgement to obtain consistently good results with the Cobb family of products. To read or download the complete Guide or to view Cobb's other management guides, click here.
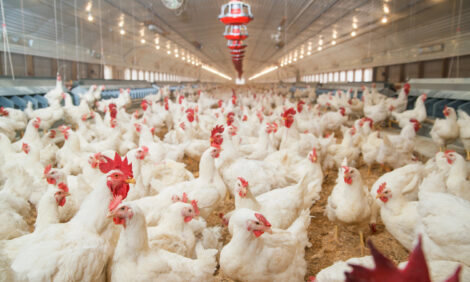
The life of a parent stock flock is normally between 60 and 65 weeks of age and depends on various factors including market conditions, flock production, fertility and hatch percentage. The depletion time is also based on economics which will consider the cost and potential profit of the flock.
When brooding and rearing are separated from the production house, the time that the flock stays in the rearing or production unit is fixed. This rotation program will require that the houses are cleaned and disinfected before a new flock is placed. The rotation program provides the lowest investment cost in housing, allows staff to be dedicated to either rearing or production and one production unit can be supplied with flocks originating from two rearing units.
When a single house is used for brooding, rearing, and laying, the timing of depletion is more flexible than with a rotation program. With the single house system, depletion can be delayed if the flock is still producing very well and/or there is a high demand for hatching eggs. Additionally, with this system the biosecurity risk is reduced since the flock is not moved which also eliminates the stress caused by a move.
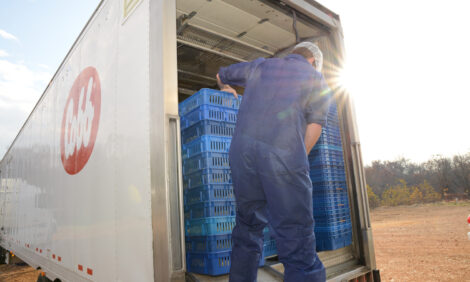
Once it is determined that the flocks must be depleted the birds will normally be brought to a processing plant. Feed is withdrawn on the processing day but water is available until the catching crew arrives. Under normal conditions, best practices show that a feed withdrawal period of 8 to 12 hours can empty the intestinal tract (crop through the vent) while the intestines retain strength and integrity. Maintaining intestinal integrity is critically important to minimize tears and breaks during processing and to minimize the risk of contamination during the evisceration process. If 12 hours of fasting are exceeded, intestines begin to weaken and can easily break, posing a higher risk of contamination of carcasses with intestinal contents.
Feeders, drinkers and any removable equipment should be raised or removed before catching begins. Typically, slats and nest boxes remain during the catching process. To prevent piling and crowding, barriers are used to congregate birds into smaller groups within the scratch area. There are two methods for catching, by the legs or back. Both methods
are described in detail, along with other detailed information on catching, transportation and processing, in our Cobb Processing Guide available at: https://www.cobbgenetics.com/resources/management-guides.
Breeder Farm Cleaning and Disinfection
The most important factor in keeping poultry healthy is maintaining good hygiene. Healthy parent flocks and hygienic hatchery conditions contribute greatly to starting with disease-free chicks. Therefore, farm sanitation is critically important to establishing and maintaining a healthy breeder flock throughout the production period.
The house should remain empty for a minimum of 28 days from last disinfection to first placement of birds in the house. Conduct frequent biosecurity audits at each farm. It is important to audit the entire facility to ensure compliance with company expectations for cleaning, disinfection and biosecurity.
There are several steps to the cleaning and disinfection process. First, dry cleaning is performed which involves the physical removal of debris including dirt, dust and litter using equipment such as tractors, blowers and brooms. Wet cleaning is then done to reduce or eliminate debris adhered to surfaces and in difficult to reach places facilitated by water and detergent. Finally, when all surfaces are free of debris and clean, the poultry house is disinfected to reduce and eliminate microorganisms that could be health hazards for the next breeders placed.
House preparation and pre-cleaning
- Ensure that the house is completely empty before cleaning.
- Insects (flies, mites, ticks, beetles and cockroaches) carry and spread diseases. An effective insect eradication and control program is most effective once the house is empty but still warm. Spray an approved insecticide both inside and outside the building (including a 6 m (20 ft) wide area around the house). The outside application is important because insects will look for places to hide and hibernate as the building cools making eradication more difficult. The building should be closed for three to four days after insecticide treatment. Heavy insect infestations may require an additional insecticide application after the disinfection process is completed.
- After house depopulation, use bait stations and rodenticides that cause death after a single dose. All feed should be removed from feeders to attract rodents to the bait stations. Bait stations should be placed inside and outside the poultry houses. Maintain the rodent control program during the cleaning process.
- Collect and remove litter from the flock in sealed trucks. Bury or burn the litter if the previous flock has experienced a disease or insect outbreak.
- Perform maintenance and repair of surfaces including floor cracks, door frames, damaged panels, slats and equipment.
- Bag all unused feed from the feeder lines/tracks, feed bins and cross augers. Remove all bagged feed from site.
- Feed silos/bins should be thoroughly cleaned and fumigated. Ensure feed bins are completely dry before refilling to prevent caking and mold growth.
- Dry clean any equipment that cannot be washed directly and cover it completely to protect it from the washing process.
- Clean the control room electrical panels using power air blowers or vacuum cleaner.
Dry Cleaning
- All cleaning should begin with the uppermost surfaces and proceed downwards to minimize possible re-contamination of previously cleaned areas.
- Remove and discard all paper products associated with the previous flock. These items cannot be disinfected effectively. Dismantle all removable equipment, slats and fittings, remove them from the building and collect them in a specific area outside the poultry house for cleaning. In some locations, part of the equipment can be cleaned inside the house during the
winter after litter and droppings have been removed. Movable community nests parts are normally cleaned and disinfected inside the house. - Dry cleaning (i.e. brushing, scraping, vacuum cleaners, air blowers etc.) should be performed inside and outside the poultry house, farm storage, and egg rooms. While dry cleaning, pay special attention to the fans and air inlets, light system, beams (especially in corners) heating system and electrical equipment which cannot be removed (e.g. motors, switches). These difficult areas should be dry cleaned by blowing with compressed air.
- Egg collection equipment should be opened and egg belts removed. All egg debris, dust and dirt should be swept away.
Wet Cleaning
- Open any drainage covers and water runoff pathways and wash down all interior surfaces of the house and fixed equipment with a general detergent applied by a pressure washer.
- All removable equipment and fittings should be taken out of the building and soaked in clean water in a tank or pit. After soaking they should be cleaned with a pressure washer.
- All cleaning should begin with the uppermost surfaces and proceed downwards to minimize possible re-contamination of previously cleaned areas. The house should be washed in the direction of the best drainage or along the slope of the floor.
- Apply the foam or gel detergent and allow the recommended soak time so that the product has adequate time to work. Always wash from the ceiling to the floor – if ceiling fans are present, they should be washed first.
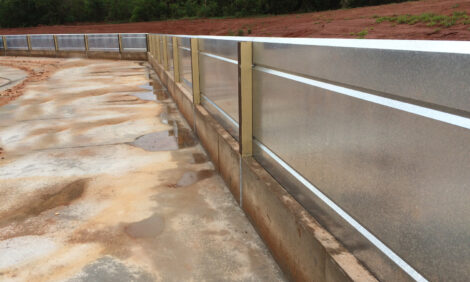
- Prevent standing water around the poultry house - each farm should have adequate drainage and dirty water collection tanks that meet local environmental regulations.
- All outside concrete areas and ends of the house should be washed completely.
- In curtain sided houses, special attention should be given to cleaning both the inside and outside of the curtains and preventing dirt collecting in the curtain pocket. Light traps at the inlet and fan end will need special attention to remove all organic material between the ribs or fins.
- Use the pressure-washer on the house exterior to clean the fan shafts and air inlets. It is advisable to wash off the dust that accumulates on the roof and in the gutters. Be aware that high pressure water can potentially damage blades, aluminum shutters, and other soft materials. Use high pressure water pressure cautiously. Wooden community nests cannot be high pressure washed and can be damaged with excessive water pressure.
- Water storage or header tanks must be cleaned with a detergent. Drain the drinking system and header tank completely before adding cleaning solution.
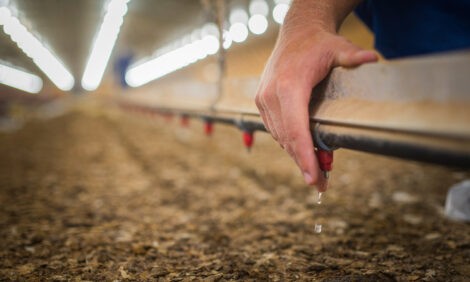
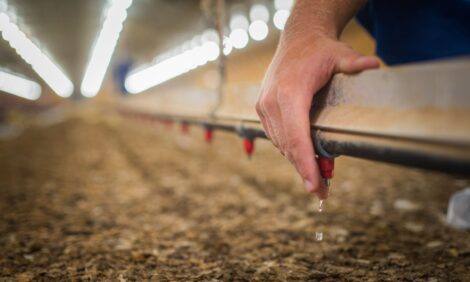
- Drinking systems should be drained and then primed with an approved hydrogen peroxide solution to dissolve any biofilm, followed by a high pressure flush. Apply an acid base solution to dissolve scale deposits followed again by a high pressure flush. During both procedures all nipples should be activated to prevent debris accumulation. Finally, flush the whole system with a sanitizing solution. Make sure that any trace of disinfectant is removed as it can impair the use of live vaccines.
Sanitizing and disinfecting
- Perform any equipment or facility repairs and replace or plug any drainage openings.
- Visually inspect every part of the farm facilities for cleanliness. This inspection should be done in good light and after the house and equipment have dried.
- When the surfaces are dry, apply an effective broad-spectrum disinfectant through a pressure washer with a fan jet nozzle. Disinfect by moving from the top to the sides and then the bottom of the house and from the back to the front of the house. Thoroughly soak all the interior surfaces and equipment. Fan boxes, inlets, support beams and posts require special
attention. - Disinfect the areas of the roof surrounding the fan shafts and the gutters.
- Spray a 6 m (20 ft) wide band around the perimeter of the house with the disinfectant solution.
- Include the egg handling and storage rooms, feed storage area, changing rooms and showers during the cleaning and disinfection process.
- For removable equipment and fittings, once all organic material has been removed, they should be soaked in a disinfectant solution per the dilution rate as recommended by the manufacturer.
- Drying down after disinfection is advantageous. Heat and ventilation will speed this process.
- Staff areas, canteens, changing areas and offices must be thoroughly cleaned and disinfected.
- All footwear and clothing must be washed and disinfected.
- After disinfection, biosecurity controls at house entrances must be reinstated.
- Adequate downtime between flocks always increases the efficacy of the hygiene program.


