

Why prepare the house for cleaning and disinfection?
How To... Prepare the breeder house for cleaning and disinfection after depletionPart of Series:
Next Article in Series >
Correct house preparation procedures are essential for the success of a cleaning and disinfection program.
- Ensures that factors which impact the bacterial load of the house (such as pests, litter, organic material and dust), have been removed.
- Leaves the house empty and free from non-stationary equipment that can hinder the effectiveness of cleaning and disinfection.
Procedure for preparing a house for cleaning and disinfection after depletion
Preparing the house for cleaning and disinfection is a multi-step program which should begin as soon as the flock has been depleted.
Equipment
- Loader
- Truck and trailer with cover
- Plastic cover/tarpaulins
- Insecticide and sprayer
- Protective clothing (coveralls, hat, gloves, eye protection)
- Broom and shovel
- Low pressure sprayer and detergent solution
Procedure
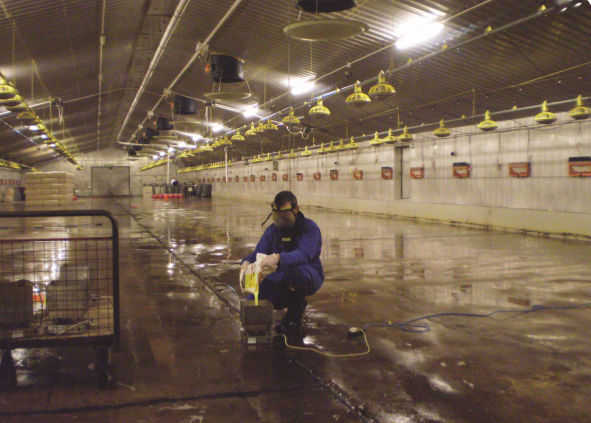
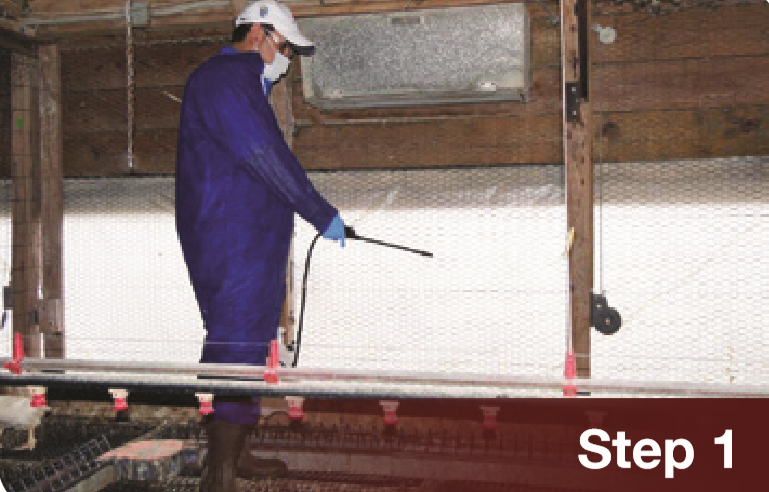
Step 1: Spray a locally recommended insecticide (prepared to manufacturer’s specifications) on the litter and water resistant house equipment (do not spray electrical equipment) as soon as the flock has been depleted, while the house is still warm, and before removal of the litter
(See Best Practice on the Farm - Darkling Beetle Control). Appropriate protective clothing should be worn at all times.
Step 2: Raise automatic feeders and drinkers.
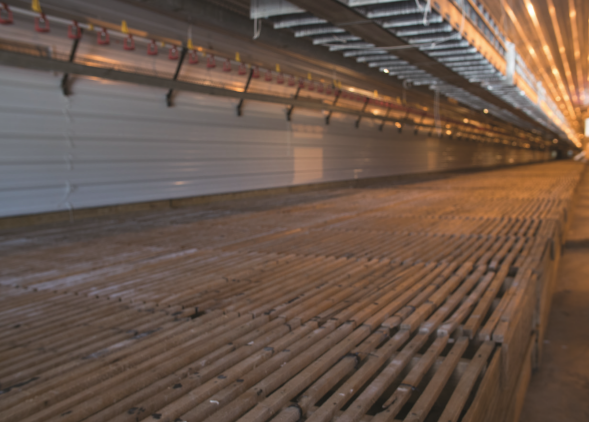
Step 3: Remove shavings and fecal material from removable nest boxes. Dismantle slats and removable nest boxes (communal nest boxes are stationary) and take them to an alternate location outside the house where they can be cleaned and disinfected effectively.
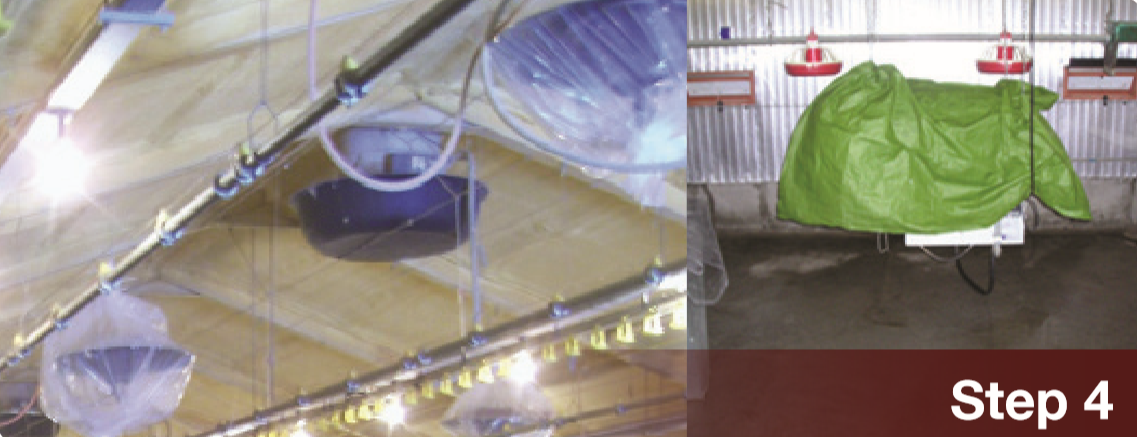
Step 4: Dry clean all stationary equipment that will remain in the house, including electronic equipment, sensors, control panels, motors, outlets and brooders to remove dust and cobwebs. Cover electrical equipment with plastic covering or tarpaulins and seal to prevent damage before water application.

Step 5: Collect litter with a loader, place into trucks and cover with a tarpaulin. Use a broom and shovel to manually remove any litter material left in the house, and sweep the house clean before presoaking. Remove litter to a distance of at least 3.2 km (2 miles) from the farm and dispose of in accordance with local legislation.
Step 6: Clean out guttering (where applicable) and pre- soak the area around the feed bins.
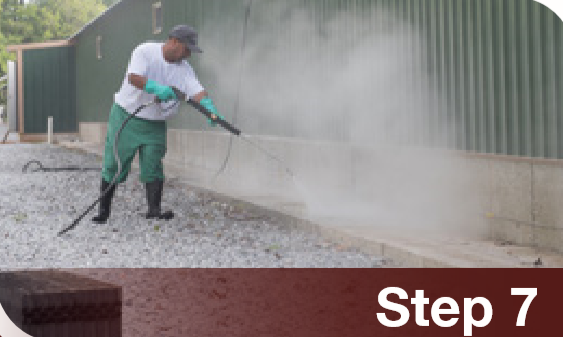
Step 7: Wash the external walls, aprons and external fan boxes.
Step 8: Weed around the poultry house perimeter to around 1.8 m (6 ft); check bird proofing materials and make repairs if necessary.
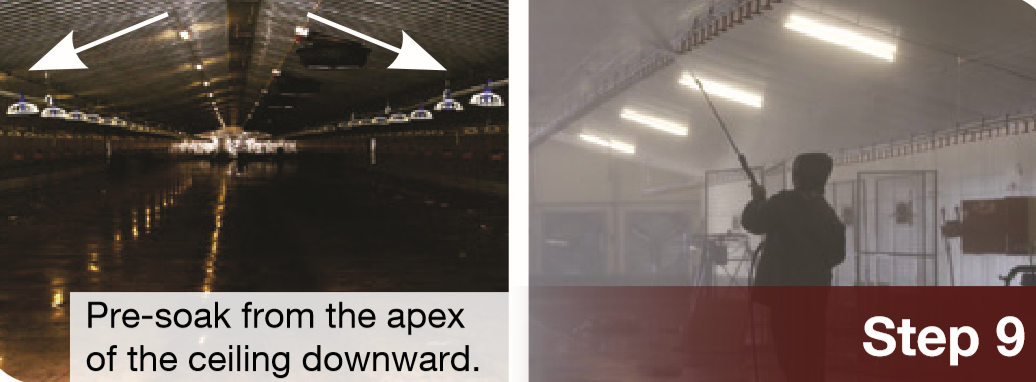
Step 9: Pre-soak house surfaces by using a low pressure sprayer to spray detergent solution throughout the inside of the house, starting with the ceilings, moving down the side walls, and finally to the floors. This will prevent debris and organic material contaminating previously washed parts of the house.
House preparation checklist
If the house has been correctly prepared for cleaning and disinfection:
- √ Automatic feeders and drinkers are raised to the ceiling.
- √ The house is empty of all removable equipment and litter.
- √ Stationary equipment has been dry cleaned, covered and sealed.
- √ Exterior maintenance and pre-cleaning has been done.
- √ The house will be pre-soaked using a detergent solution


